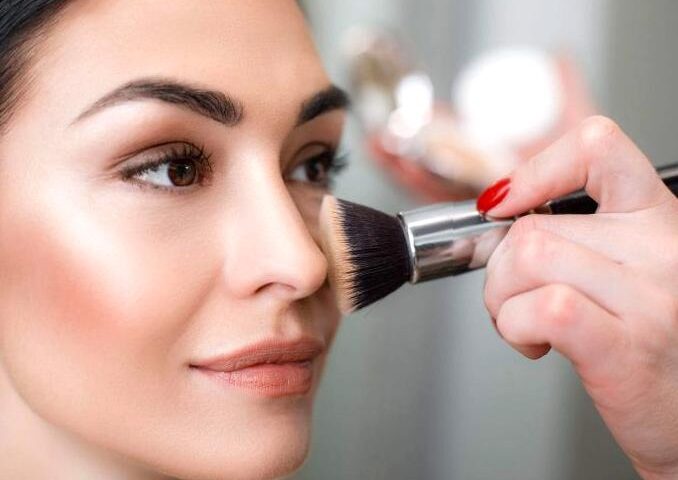
Contouring is a makeup technique that enhances the natural dimensions of your face, sculpting it to create shadows and highlights. This article will serve as a comprehensive step-by-step guide to mastering the art of contouring. By the end of this guide, you’ll learn how to achieve a more defined face shape using simple makeup techniques and products. From selecting the right products to mastering application techniques, this guide covers everything you need for a flawless finish.

Understanding the Basics of Contouring
Before diving into the techniques, it is essential to understand what contouring is and how it works. Contouring involves the strategic application of darker shades to create shadows and lighter shades to enhance high points of the face. This dual approach can alter the perception of your facial shape, making it appear slimmer, more angled, or even more vibrant. The key to effective contouring lies in using products that blend seamlessly into your skin and suit your skin tone. Additionally, it’s crucial to consider your face shape, as different contours work better for different structures.

Choosing the Right Products for Contouring
Selecting the right products can make or break your contouring routine. Here’s a quick list of what you will need:
- Contour Cream or Powder: Choose a shade that is two to three shades darker than your skin tone.
- Highlighted Cream or Powder: This should be two to three shades lighter than your skin tone.
- Brushes or Sponges: These tools are essential for blending and achieving a seamless look.
- Setting Powder: To lock in your contour and prevent it from creasing or fading.
- Mirror: A good-quality mirror ensures you see all angles of your face.
When choosing your products, pay attention to the formula—creams are great for a dewy finish, while powders offer a more matte look. Also, consider the undertones in your skin. For example, if you have warm undertones, go for warmer shades to complement your natural complexion.

Step-by-Step Contouring Technique
Now that you’ve selected your products, it’s time to start contouring. Follow these steps for a flawless application:
- Preparation: Start with a clean, moisturized face. Apply your usual foundation as a base to create an even skin tone.
- Identify Your Face Shape: Look in the mirror to determine your face shape (oval, round, square, etc.). This will guide where you apply contour and highlight.
- Apply Contour: Using your contour product, apply it in the hollows of your cheeks, along the jawline, on the sides of your nose, and along your hairline. Remember, less is more; you can always add more product if needed.
- Blend: Take a beauty sponge or brush to blend the contour into your foundation seamlessly. The goal is to create shadows, not stark lines.
- Highlight: Next, apply your highlight product on the high points of your face such as the tops of your cheeks, the bridge of your nose, and under your brows to catch the light.
- Set Your Makeup: Finally, dust a light layer of setting powder over the areas where you contoured and highlighted. This helps keep your makeup in place and prevents oiliness.
Tips for Perfecting Your Contour
Even the best techniques take practice, so here are some additional tips to enhance your contouring skills:
- Practice on different lighting: Natural light is best for contouring to see how the shades truly blend with your skin tone.
- Less is more: Start small and build your contour gradually; it’s easier to add than to remove excess product.
- Use a good quality mirror: To really see the angles of your face, use a mirror that allows for a clear view from above and below.
- Experiment with different tools: Different brushes and sponges can achieve various looks; find what works best for you.
Remember that perfection comes with practice, so don’t be discouraged if your first attempts don’t yield the results you want.

Conclusion
Contouring is a powerful technique that, when done correctly, can substantially enhance your facial features. With the appropriate products, a good understanding of your face shape, and consistent practice, you can master the art of contouring to achieve a beautifully defined look. Once you’ve nailed down the basics, feel free to experiment with different products and techniques to find what works best for you. Always remember, the goal is to enhance your natural beauty rather than mask it beneath layers of makeup.
FAQs
Yes, contouring can be tailored for all face shapes. Each shape requires different techniques and areas to focus on for the best results. Understanding your face shape is key.
2. What is the difference between cream and powder contour?
Cream contours provide a dewy finish and are usually more blendable, making them ideal for dry skin. Powder contours offer a matte finish and are best for oily skin types.
3. How do I choose the right contour shade?
Your contour shade should be at least two to three shades darker than your natural skin tone. Make sure to test different shades to see what blends best with your foundation.
4. Is contouring suitable for everyday wear?
Absolutely! You can opt for a more subtle contour for everyday wear, focusing on enhancing your natural features without overdoing it.
5. How can I remove contour makeup effectively?
Using a good makeup remover or cleansing balm can help in effectively removing contour makeup. Start with an oil-based remover for better results, followed by a cleanser for a clean finish.
